Who doesn't love the sparkly luster of glitter nail polish? It's like jewelry for your nails. However removing the hardened
lacquer is enough to keep many enthusiasts from indulging in some glittery goodness. Thankfully there is a trick to hassle-free removal:
-Rip two or three cotton balls (depending on the size) into 10 equal strips.
-Soak each strip in nail polish remover (or pure acetone - it will work faster).
-Place one on each nail, pressing down so the cotton covers the whole nail.
-Wait two to three minutes and gently wipe the softened glitter polish away.
-Finish by rubbing a little cuticle oil on each nail as polish remover and acetone are very drying.
Showing posts with label DIY. Show all posts
Wednesday, October 8, 2014
Friday, October 3, 2014
Bespoke Color
All of us have nearly used up bottles of nail polish lying around that will eventually dry out. Why not channel your creativity to combine two or three partial bottles of polish instead of letting them go to waste? You can create some amazing new colors!
· Mix polishes that are within the same color family – the combinations tend to come out prettier that way. For example, try reds and pinks together. Or, darker blues and lighter blues.
· Add a few drops of your favorite polish thinner to the partial bottles before mixing them together. This will help to thin out the consistency, as older polishes tend to become thicker when exposed to the air.
· When mixing the polishes, gently roll the bottle between your palms instead of shaking it (which will create air bubbles).
· Be sure to document the polishes you blend for your personal records so you can recreate the new colors if so desired.
· If you're a Nail Tech, name your new color! Let your clients know that this is a “custom” color that will only be available for a limited time.
Thursday, October 2, 2014
Simple DIY Tea Bag Nail Repair
This is a simple DIY nail repair trick that I have been using for years. It's great for the those that need an urgent fix for their own nails, but I've also found it to be invaluable as a professional Nail Technician when I'm working on the set of a film or photo shoot where there isn't time to do a full silk or fiberglass wrap.
Supplies:
· paper tea bag
· nail file
· buffer
· tweezers
· nail glue
Steps:
1. Trim and file nail if necessary.
2. Cut the top off of a paper tea bag and pour out the tea. You can also use a coffee filter in an emergency, but remember it is thicker and will require more buffing to prevent the seams from showing.
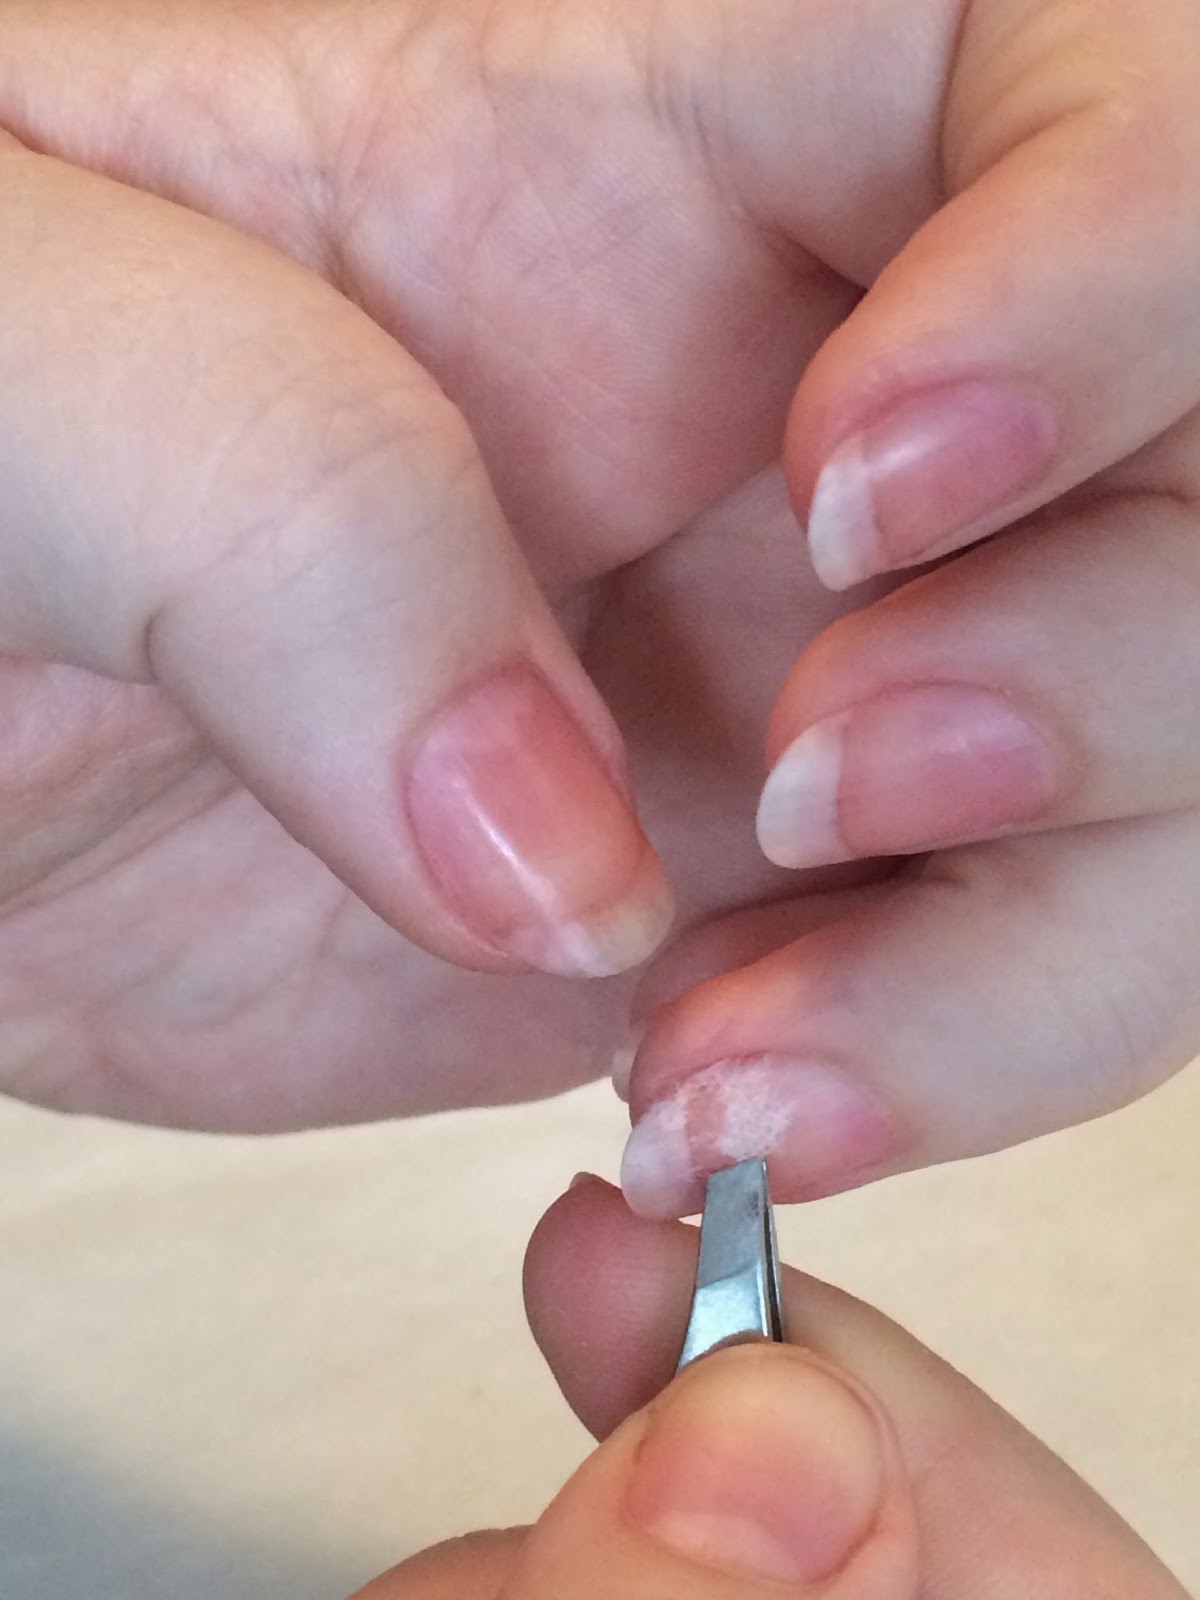
3. Tear (do not cut) a small piece of the empty tea bag into a patch to cover the break in your nail. Cutting the patch will leave a ridge along the edges, while tearing allows the fibers to seamlessly blend into the nail.
4. Place a small dot of nail glue over the break in the nail and use the tweezers to place and press the patch down over it. The patch will absorb the glue and form a bond to the nail over the break.
5. Once dry, gently buff over the edges of the patch to blend it into the nail.
6. Finish with a clear top coat or to hide the patch, polish your nails as usual with a base coat, two coats of color, and a top coat.
Voila! You have a perfect manicure once again and the offending break is reinforced while the nail has time to grow out. You can remove the patch easily with nail polish remover or leave it in place until the break has grown out enough for you to clip and file the nail.
Supplies:
· paper tea bag
· nail file
· buffer
· tweezers
· nail glue
Steps:
1. Trim and file nail if necessary.
2. Cut the top off of a paper tea bag and pour out the tea. You can also use a coffee filter in an emergency, but remember it is thicker and will require more buffing to prevent the seams from showing.
3. Tear (do not cut) a small piece of the empty tea bag into a patch to cover the break in your nail. Cutting the patch will leave a ridge along the edges, while tearing allows the fibers to seamlessly blend into the nail.
4. Place a small dot of nail glue over the break in the nail and use the tweezers to place and press the patch down over it. The patch will absorb the glue and form a bond to the nail over the break.
5. Once dry, gently buff over the edges of the patch to blend it into the nail.
6. Finish with a clear top coat or to hide the patch, polish your nails as usual with a base coat, two coats of color, and a top coat.
Voila! You have a perfect manicure once again and the offending break is reinforced while the nail has time to grow out. You can remove the patch easily with nail polish remover or leave it in place until the break has grown out enough for you to clip and file the nail.
Subscribe to:
Posts (Atom)